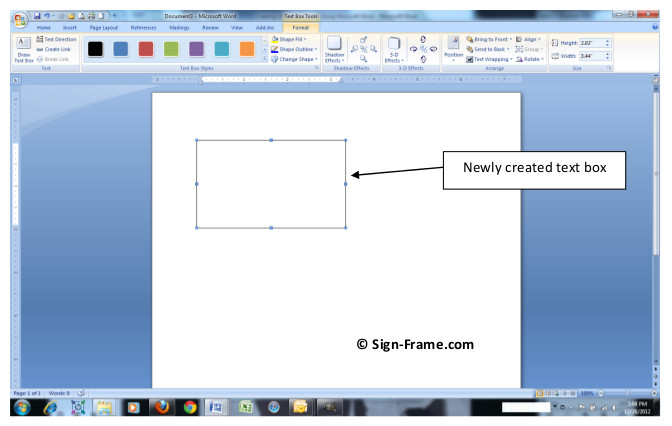
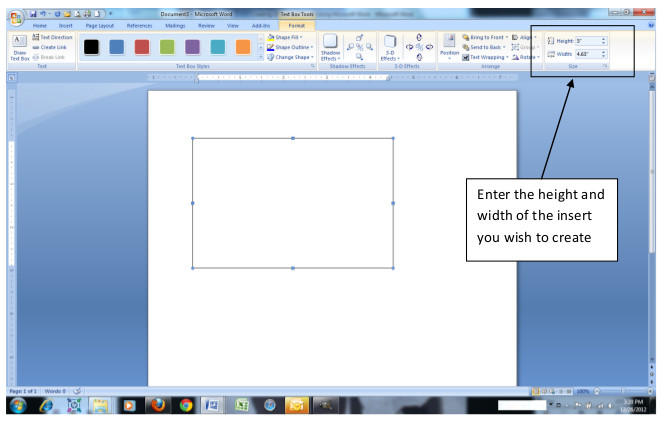
Designing paper signs for your office or campus sign frames is fast, fun, economical and can even boost morale. We’ve done a series of instructional posts on paper insert signs with textured backgrounds, specialty paper along with simple text and spot color backgrounds. This one is primarily focused on adding photos and logos to your paper frame inserts.
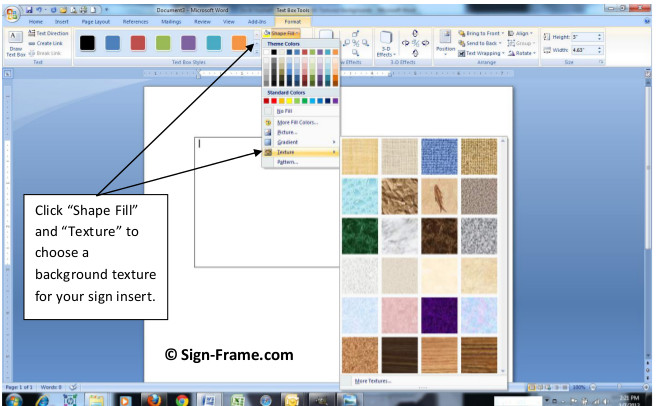
If you’ve read the other posts in our how to section, you’ll notice the process of creating paper signs is basically the same until you get to the point of detailing the frame inserts to complement your interior design. The fact is you can add textured backgrounds, colors, gradients, photos and logos to your paper insert signs in total or just add some simple text and perhaps a color background should that best fit your specifications. That said, we’ve consciously broken them out at the risk of being redundant to illustrate the various options available in creating paper insert signs. The process holds true for office signs, office directory signs, flag signs, table signs and more. Whether it’s a WFP1U office sign or a D5U office directory sign, any sign system that accepts frame inserts can embrace the following process.
Since Microsoft Word is common to most businesses we will provide the step-by-step process, complete with illustrations, as to how you can make signs yourself without leaving the office. We’ll also show you a few options you can use in creating your paper signs understanding that there are numerous variations in addition to what is shown here. Please not that the instructions listed below may vary depending on the version of MS-Word you have installed.
Create Photo and Logo Paper Signs
Step 5: Now you can add your text and logo. To add your text, add one or more text boxes to your paper insert signs by clicking the Insert tab and selecting “Draw Text Box” like you did in Step 2. Position the text boxes on the background and choose the font, font color and font size that you desire. In order to eliminate the text box outline click the Format tab -> Shape Outline -> No Outline and now you have just the text. To blend in your text box with the background you’ve chosen, highlight the text box -> right click the text box -> select Format Text Box from the drop down menu -> under Colors and Lines set Transparency to 100%. You can also use the Color dropdown and select the color, texture or pattern to match the background you’ve already selected.
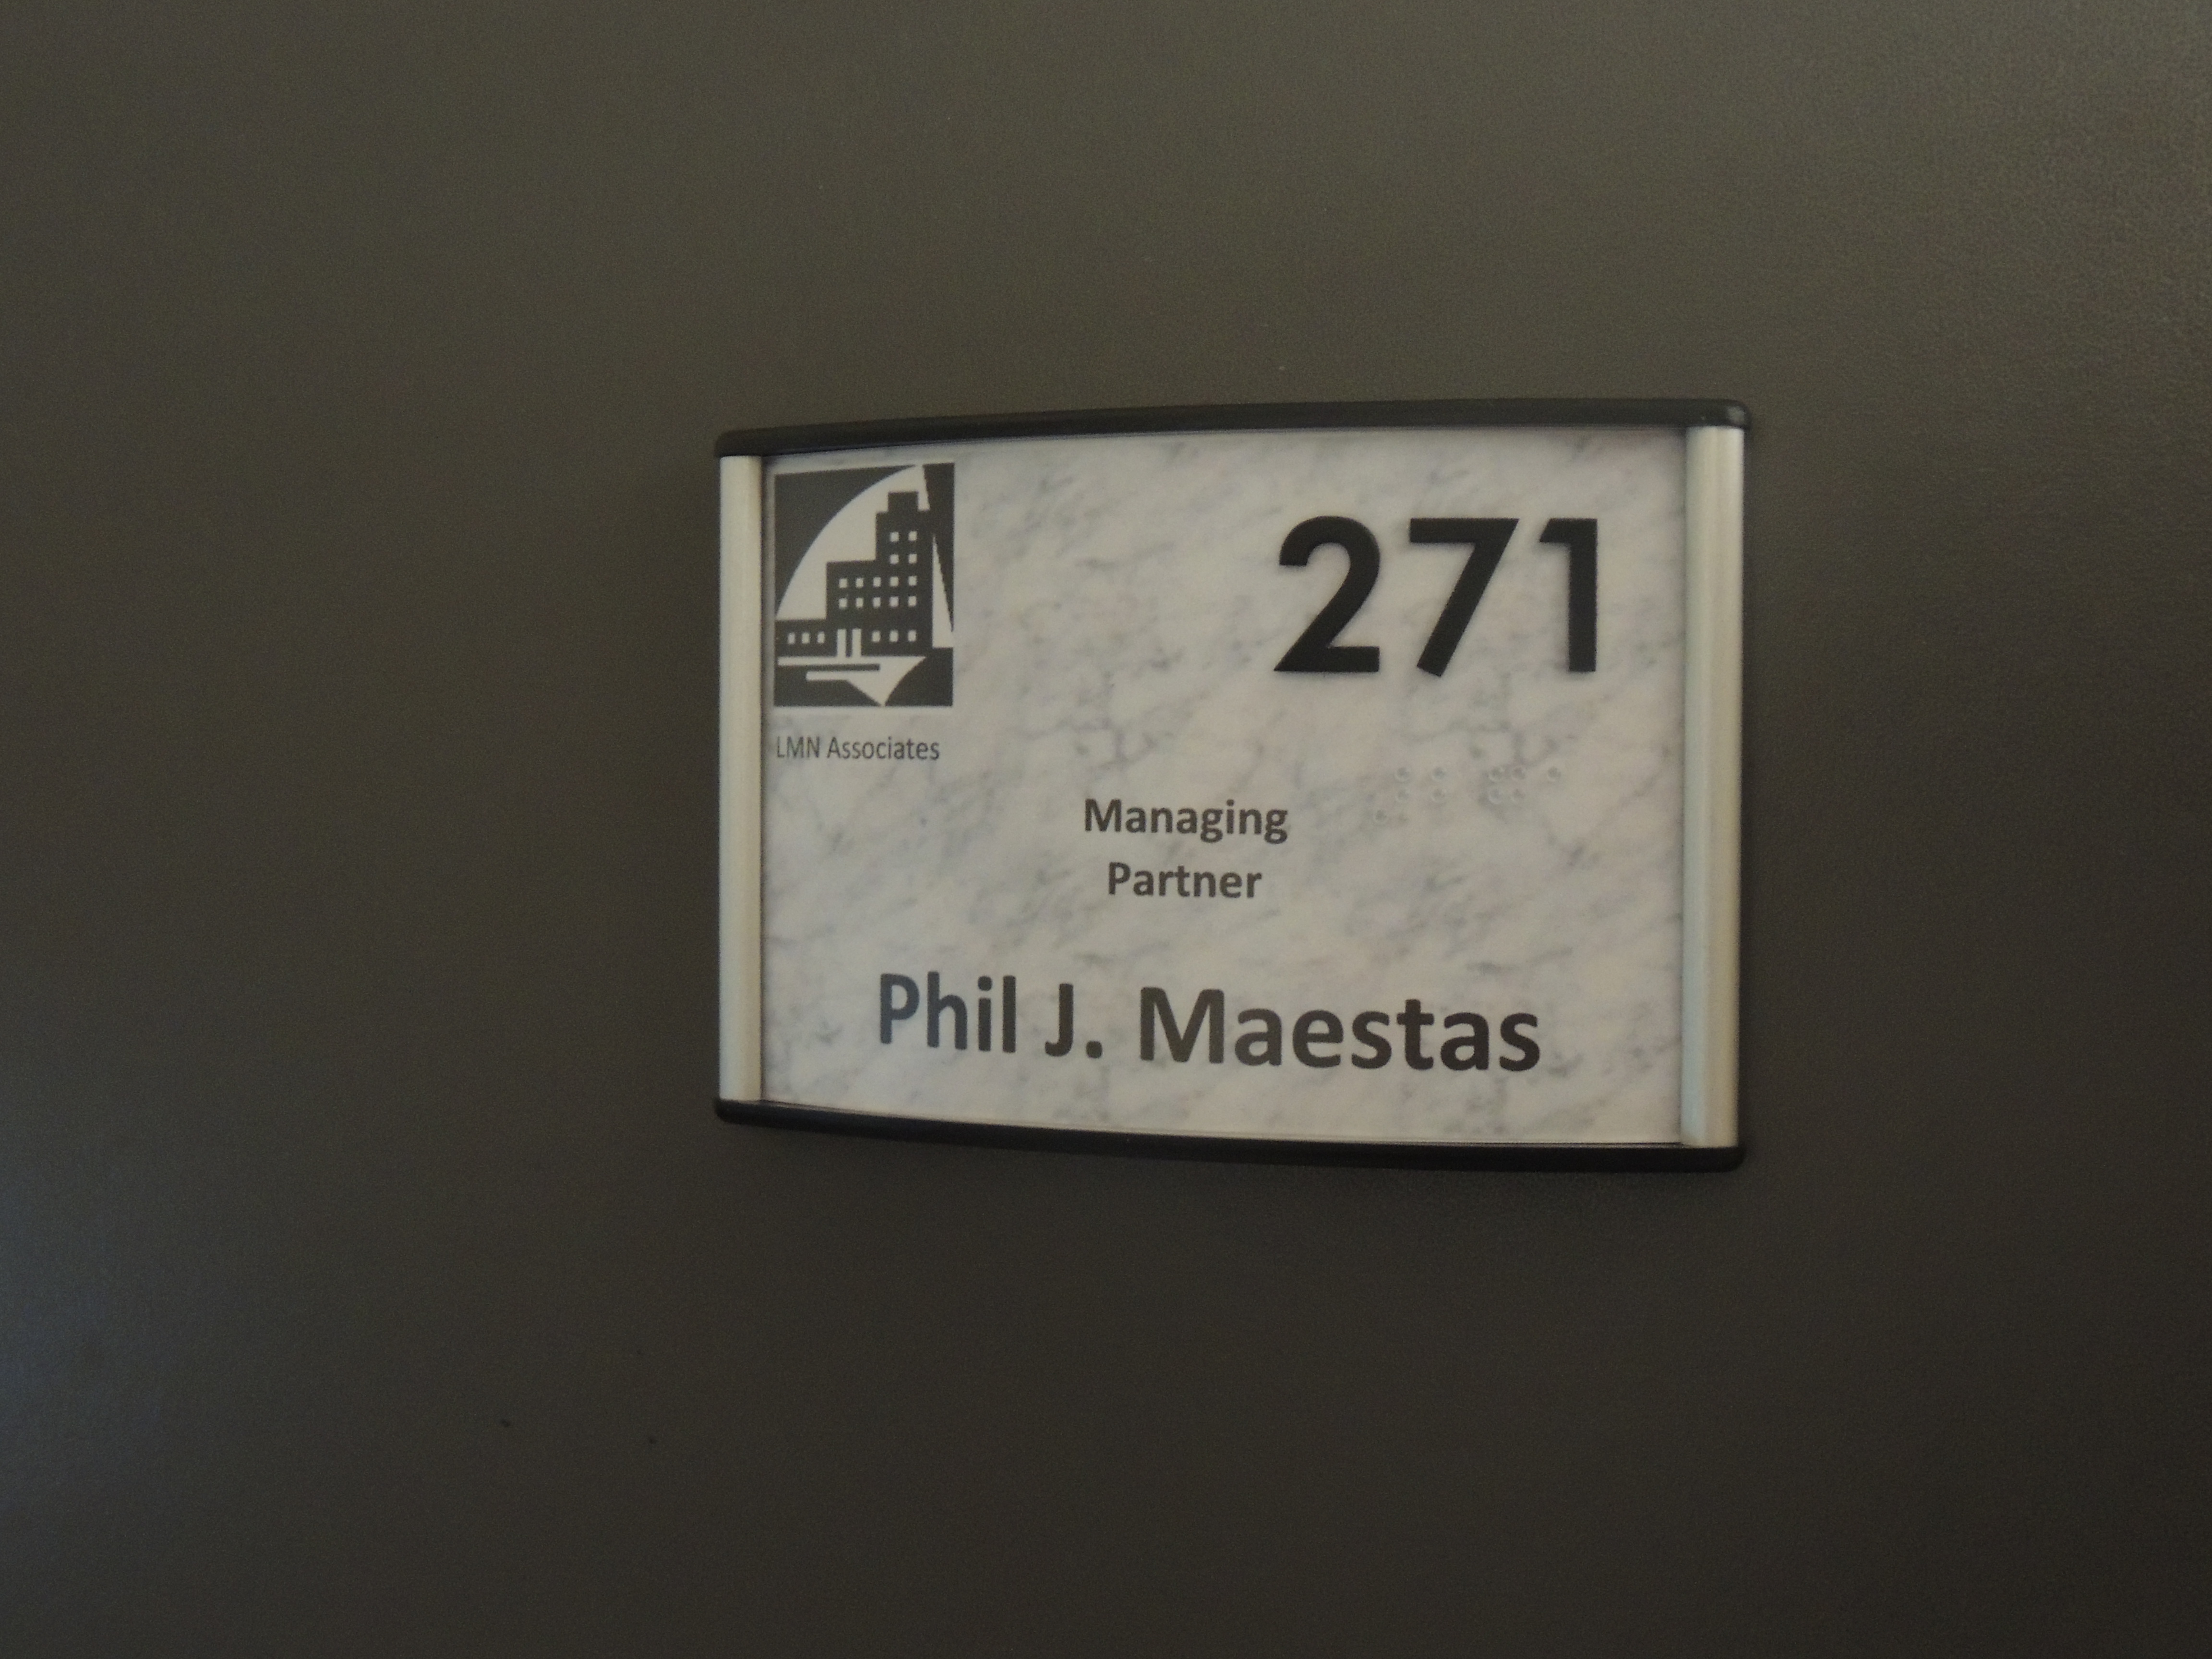
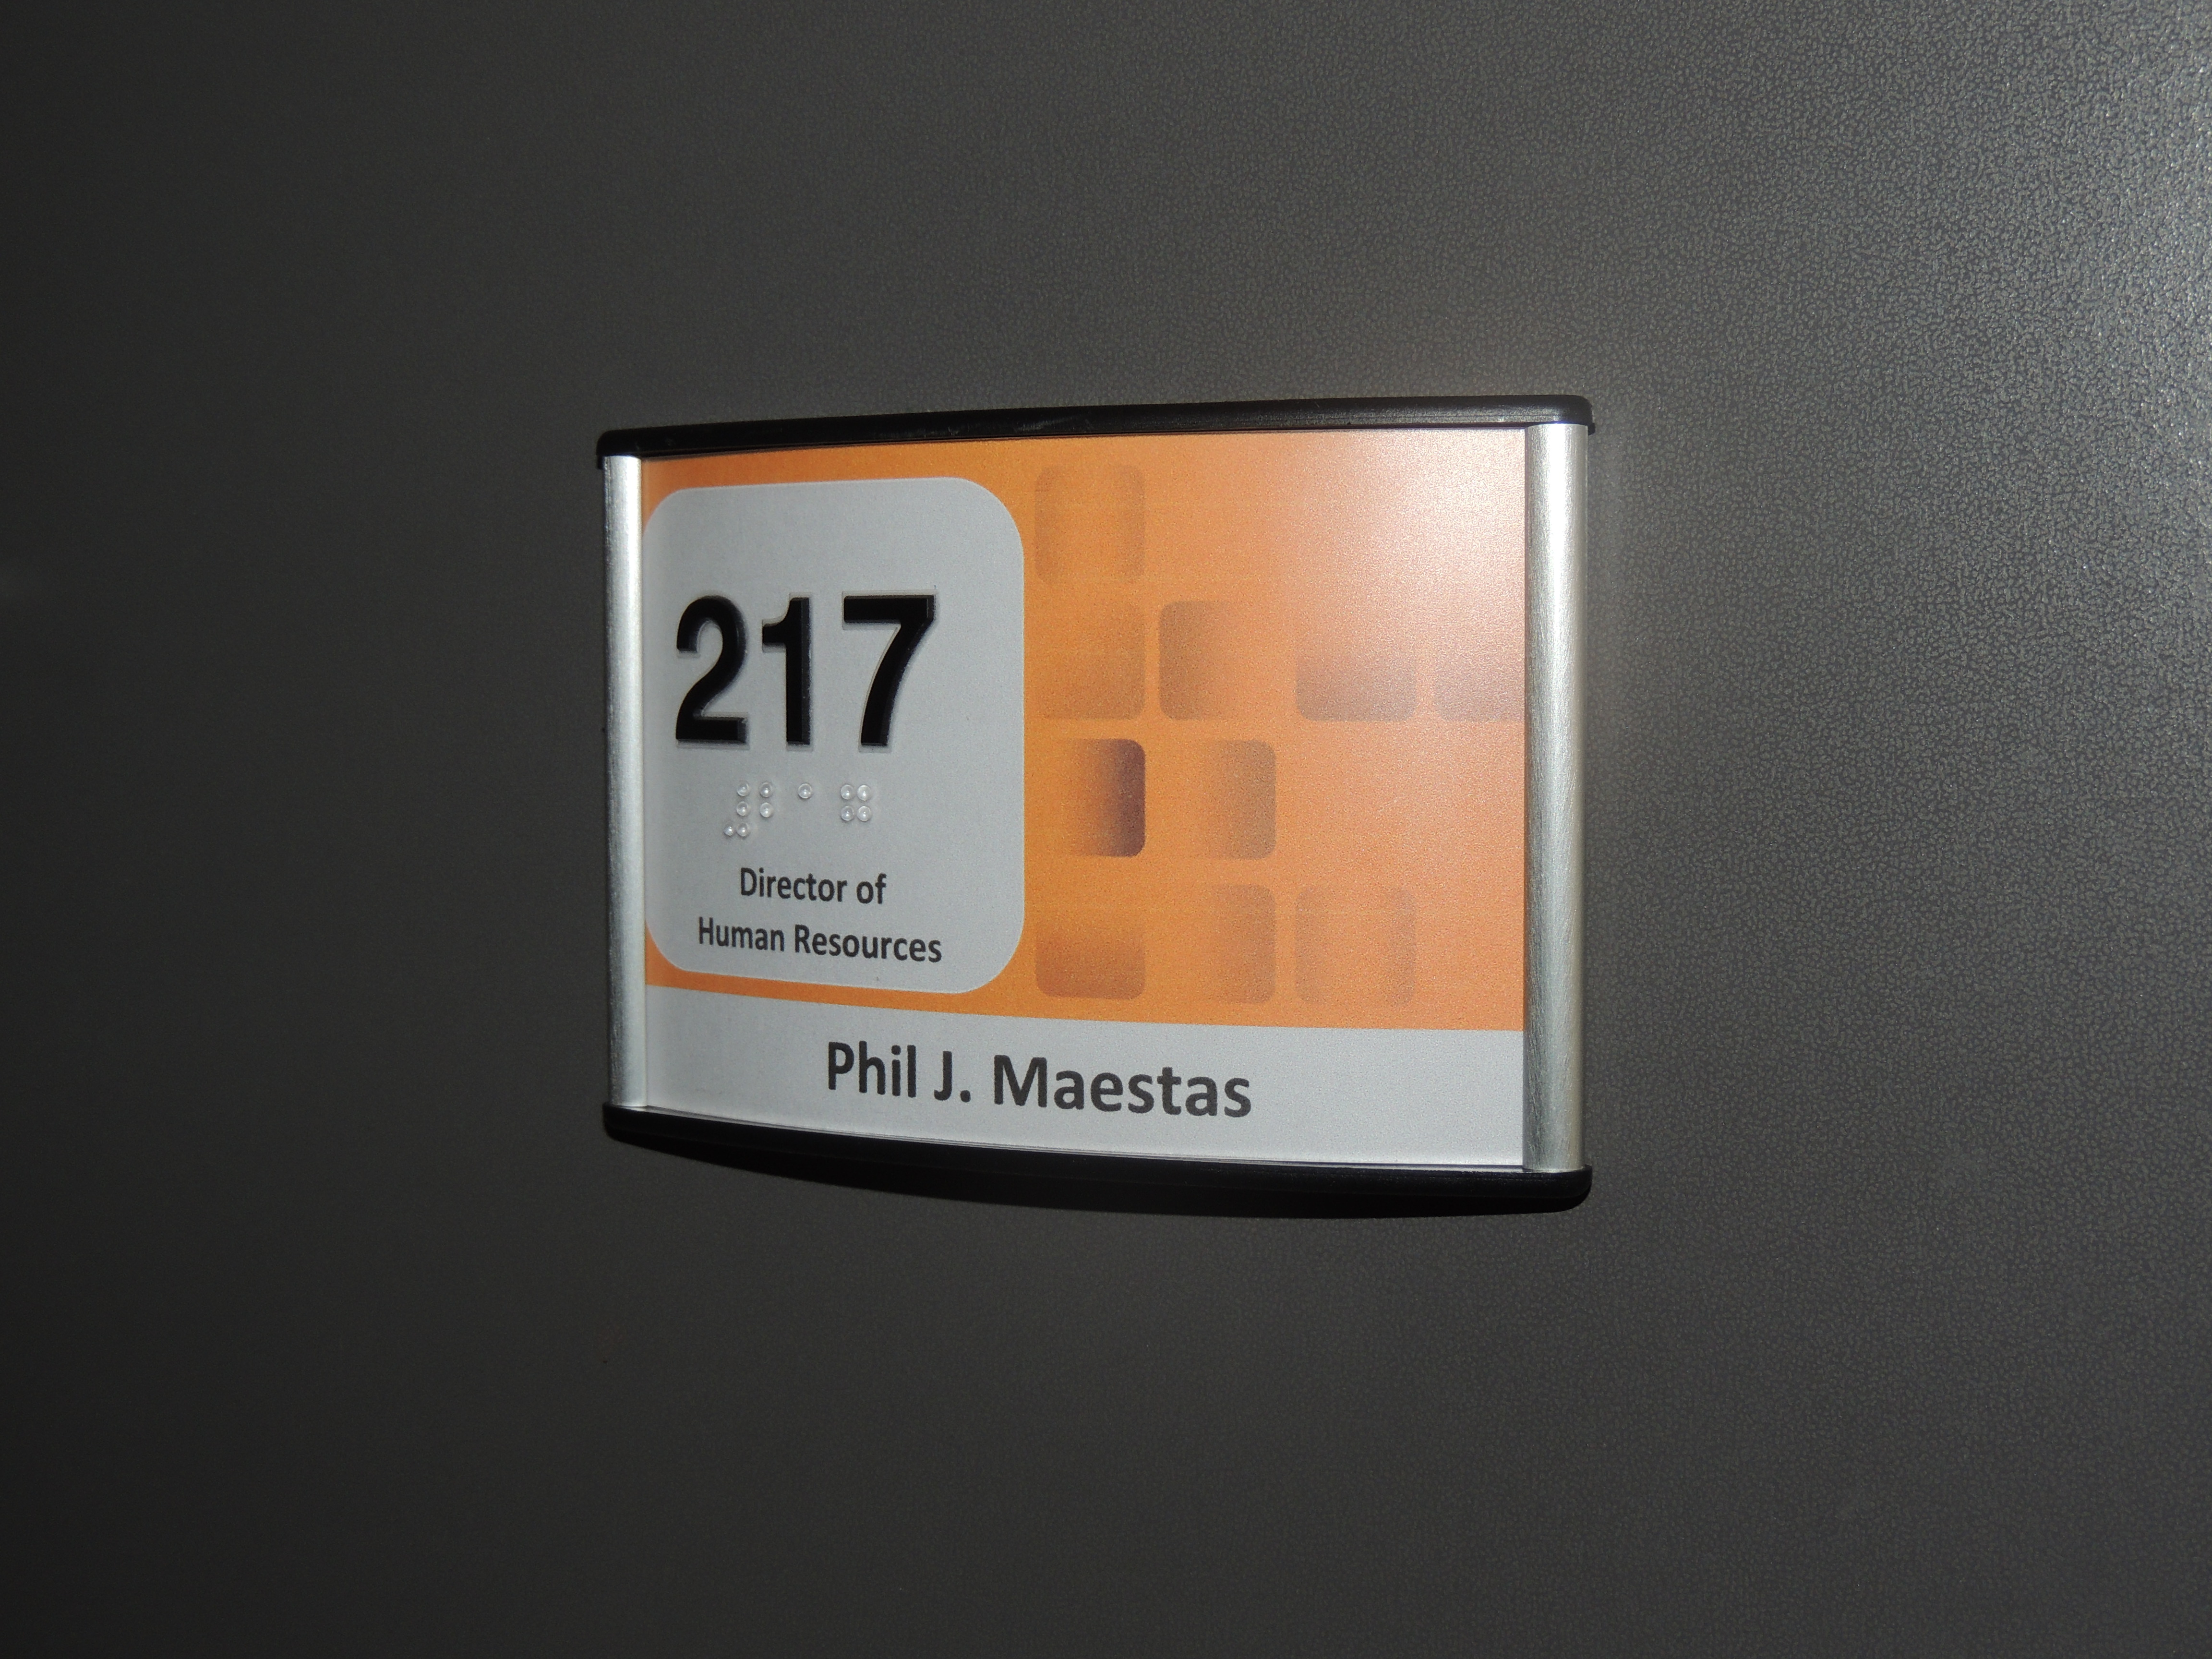
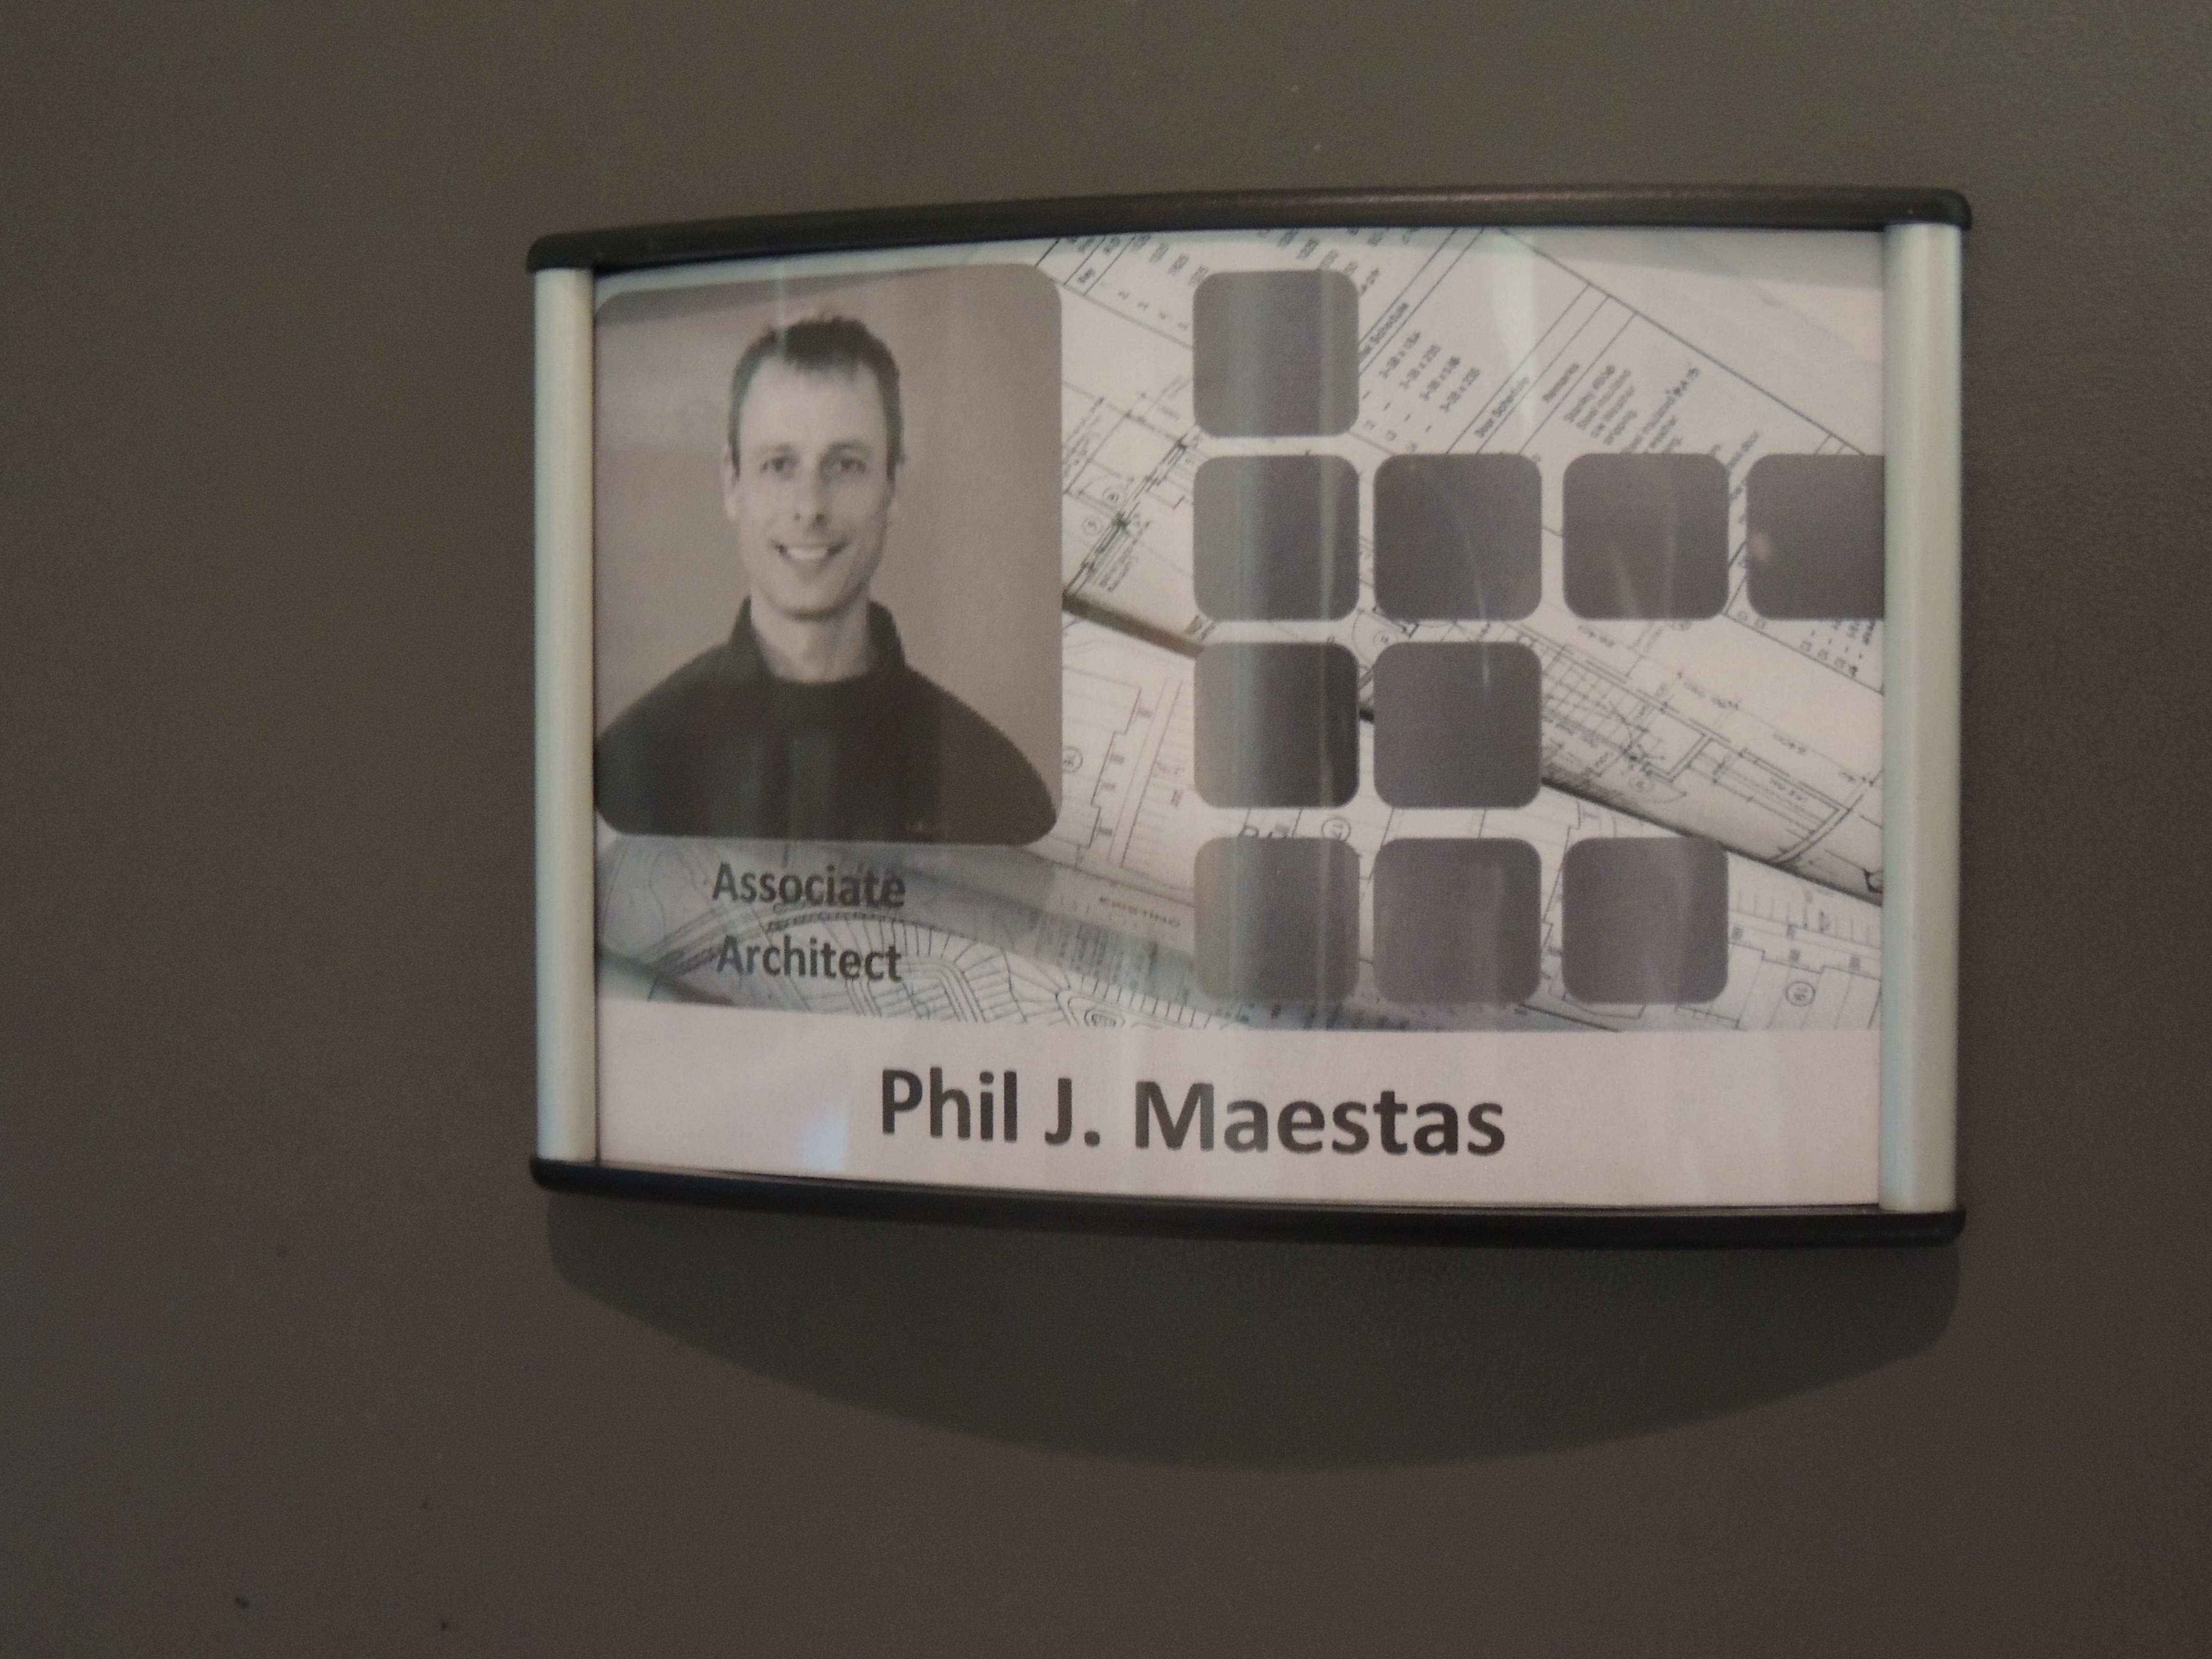
As mentioned in Step 4, you can add pictures, gradients and photos to your paper signs. I took a previously created template (Template A) and modified the design by going from color to black and white, adding the employee’s picture and using a photo for the background image (Template B). Again, the purpose it to illustrate the numerous options you have in creating exceptional looking paper insert signs.


