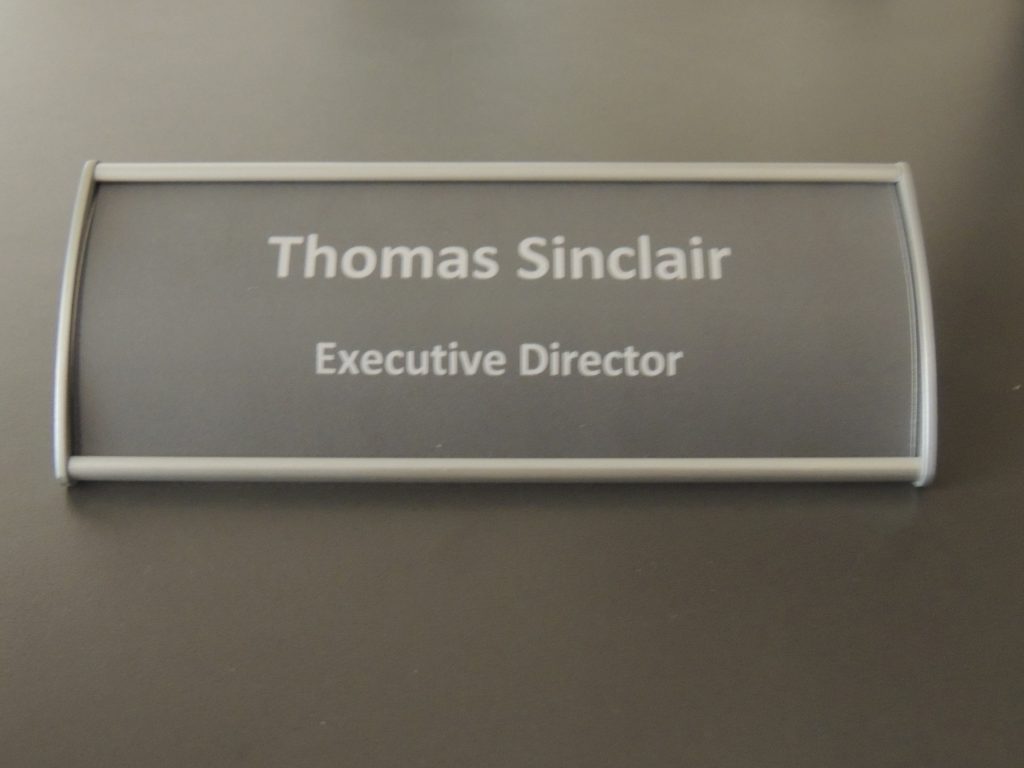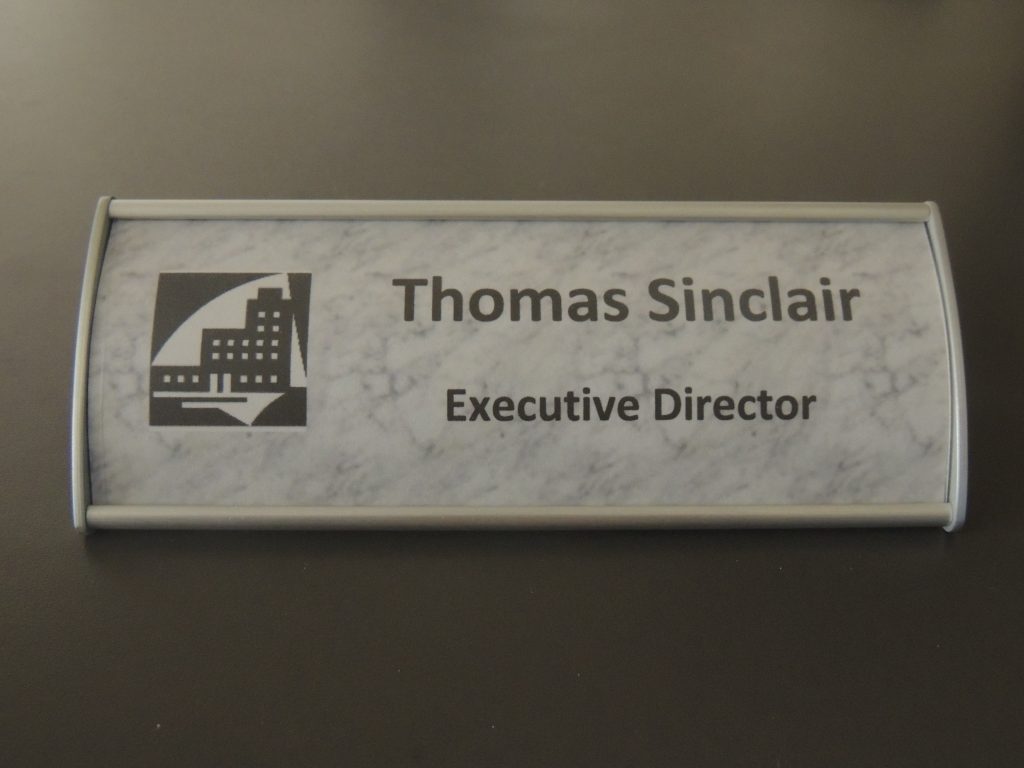
Flat Office Signs with Landscape Orientation

Boost employee morale with flat office signs that impress.  Create paper inserts for your flat office sign frames in minutes.  Use photos, full-color background images or textures to make each flat office sign your own!

Flat office signs are available in brushed silver, black and gold to complement any office setting and are easy to maintain.  All landscape oriented flat office signs come with a lifetime warranty so check out the following video for a more detailed view.

Flat Flag Signs

Vista System has added flat flag signs to round out their GreenSquare product line.  The flat flag sign line is made from anodized aluminum similar to their curved products.

Flat flag sign frames can be finished with either black or grey plastic end caps and support interior and exterior applications.  For more information on flat flag signs, lenses and inserts, check out the following video.

Flat Table Sign Frames

Vista System flat table sign frames, or desk signs, support a variety of insert materials.  Flat table sign inserts are typically done in paper where the sign copy changes frequently or in engraved material when the copy on the flat table signs is less prone to change.

A suction cup is used to remove the lenses from the flat table signs so the paper inserts can be accessed.  For more information on flat table signs, lenses and suction cups check out the following video.

Horizontal Curved Office Signs from Vista System

Vista System horizontal curved office signs fit any decor.  Print paper inserts for your curved office sign frames in minutes in the comfort of your own office.  Maintenance on the curved office sign product line is quick and inexpensive and you don’t have to call the local sign company.

The entire line of horizontal curved office signs are LEED certified for new construction projects and come in several frame and end cap finishes.  For more information on horizontal curved office signs check out the following:

Floating Office Signs

Floating office signs create dimension and add aesthetic appeal with the floating effect.  Unlike flush-mounted signs, floating office signs have a special profile, or bracket, which when mounted to the wall allows the office sign to stand off the wall approximately one-half inch.  This makes the sign appear as if it is “floating” off the wall.

The flat portrait floating office sign frame is identical to the flat portrait office sign frame with the exception of the profile.  For more information, check out the following video short.

Office Signs in Flat Portrait Orientation

Flat portrait office signs from Vista are perfect for office, campus, retail, medical and numerous other settings.  Print office sign inserts on paper or choose from a variety of other materials.  Made from anodized aluminum, all flat portrait office signs come with brushed silver, black and gold finishes and complement your office sign with either grey or black plastic end caps.

For more on flat portrait office signs check out the following:

Flat Portrait Directory Signs

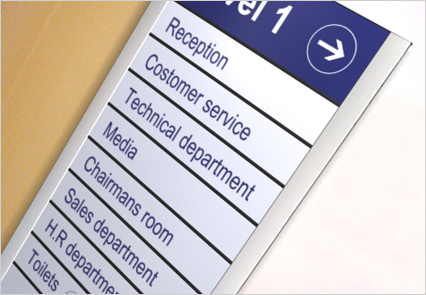
The flat portrait directory signs from Vista System are made from anodized aluminum and come in brushed silver, black and gold.  The directory sign end caps for the flat system are available in grey or black plastic.  Outfit your directory sign with either grey or black plastic divider strips and remember the suction cups since they are needed to remove the clear acrylic lenses from your directory signs.

Check out the following flat portrait directory sign video for more information.

Top 5 Mounting Options for Office Signs and Office Directory Signs

office directory signMounting office signs and office directory signs properly will save you time and money. Whether installing an office sign in a business suite or an office directory sign on a college campus, the following tips will help ease the decision process given the variety of mounting surfaces available.

The most popular mounting options are:

  • Mounting Holes
  • Foam Tape
  • Very High Bond Tape
  • Velcro
  • Cubicle Pins

Mounting Holes

Commonly used for office directory signs or larger office signs, mounting holes provide a permanent solution and is suitable for most hard surfaces.  They’re relatively vandal-proof yet are easily removed using the proper tools.  The wall surface can typically be patched or painted to its original condition.

Foam Tape

Industrial strength, double-sided white foam tape is great for most office signs, such as the WFFP3U, and is suitable for most hard surfaces including walls, doors and glass.   If your surface is rough, porous or uneven, your office sign may not have a secure bond and  should therefore consider one of the other mounting  methods.  Foam tape is semi-permanent.

VHB (Very High Bond) Tape

VHB tape is a double-sided, high-bond permanent tape. It is used for smaller office directory sign frames along with most office sign frames creating a secure bond on doors, walls and glass.  Removal can cause damage to the mounting surface if not done using the proper tools.

Velcro

Velcro is ideal if you need to move your room office signs or office directory signs due to construction or related floor plan changes.

Cubicle Pins

Great for cloth surfaces such as cubicle walls, cubicle pins are the least permanent mounting option and are perfectly suited for small office sign frames.

Check out our website for more detail on each of these mounting methods.

Choosing an Office Sign for Small Business

Choosing an office sign for small business can sometimes be intimidating given all the choices available.  When making the decision on which type of office sign is right for you consider the following:

First, there’s the cost of the sign itself.  Office signs can vary in price based on the size and type of material selected.  Signs for office environments are typically made of plastic or metal and come in either flat or curved orientations.  If you’re looking for an office sign that lasts and is aesthetically pleasing, then metal would be the preferred choice.

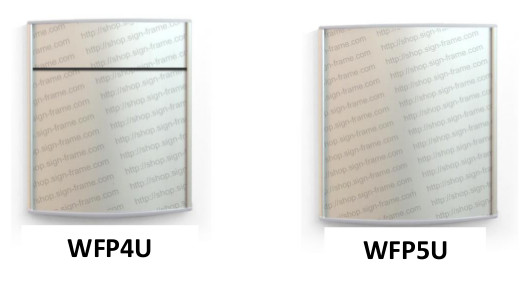
With respect to size, you want to make sure your office signs are readable and can accommodate the copy that will go on them.  For illustration purposes, we’ve chosen two of the more popular office signs for small business, namely the WFP4U and WFP5U.

WFP4U Office Sign

The WFP4U is a 4” x 4” two-part office sign with a 1” ADA header and the WFP5U is a 5” x 4” one-part office sign. Signs for office settings, especially small businesses, would find both footprints equally attractive and accommodate most sign copy.

The other consideration is maintenance. Maintenance on signs for office interiors can be costly and time consuming. Choosing a sign system that accepts paper inserts is highly cost effective, timely and is something that can be done within your office. Take your time in choosing office signs that meet both your specifications and your budget and you’ll be extremely satisfied.

How to Make Paper Inserts for Your Table Sign or Desk Sign

It’s easy to create high-quality paper inserts for your table sign or desk sign.  Designing and printing paper inserts yourself will also save you time and money.  All you need is a desktop printer and MS-Word and you’re all set to print paper insert signs.

Since Microsoft Word is common to most businesses we will provide step-by-step instructions, complete with illustrations, as to how you can do paper insert signs yourself in the comfort of your office. We understand that a desk sign or table sign insert can be designed in any number of ways but for purposes of this post we’ll keep the desk sign design simple. If you are interested in other design alternatives for your desk sign check out our How To section of the site for different options in creating your paper inserts.

For this exercise we will use the T22 table sign to illustrate the process of creating paper insert signs.  The instructions listed below may vary depending on the version of MS-Word you have installed.

Creating Paper Inserts for a Table Sign or Desk Sign using MS-Word

Step 1: Open MS-Word and create a new document by clicking New (Ctrl + N), select the “Office” button in the upper left-hand corner of the screen and click the “New” icon or click the “New” shortcut icon to create a new document. Any of these three options will work.

Make Paper Inserts Step 1

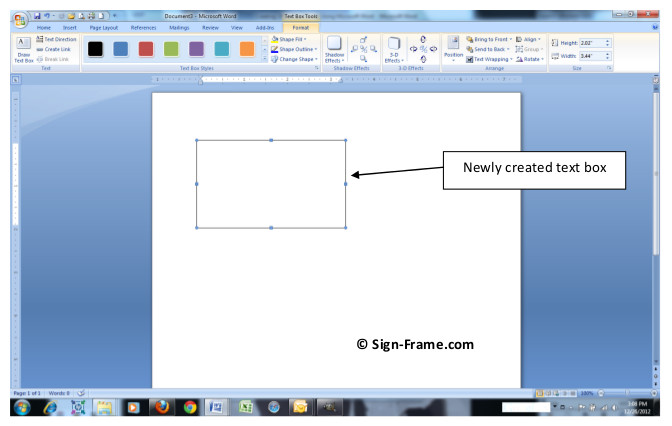
Step 2: Click the Insert Tab. Then click the Text Box icon in the Toolbar. At the bottom of the window click Draw Text Box.Move your cursor to the document (you will see a “+” sign appear) and drag it diagonally across the drawing surface while holding down the left-click button on the mouse.

Office Directory Paper Inserts 2

Release the left-click button and your text box will appear.

Directory Sign Paper Inserts 2a

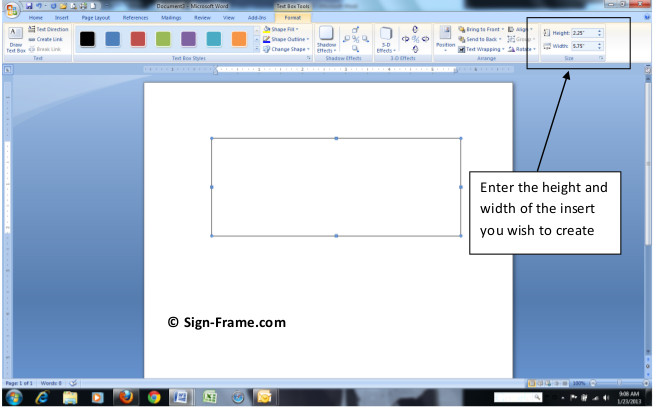
Step 3: To size the text box enter the height and width of the insert you wish to create. The T22 table sign has an insert that measures 2 1/4″ x 5 7/8″ so we will enter the dimensions accordingly as shown below.

Table Sign

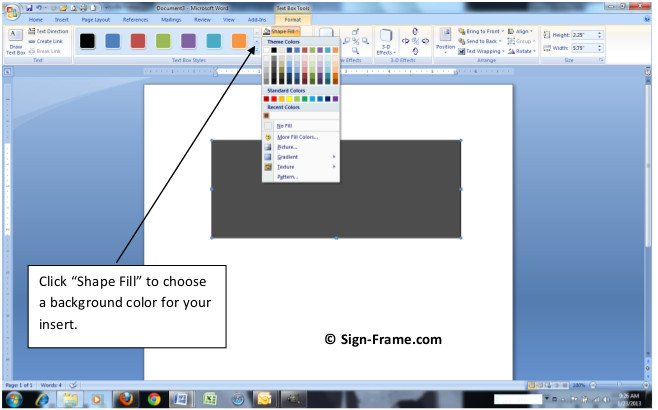
Step 4: Once the size is set you can now choose your background color. Click “Shape Fill” in the toolbar and choose a background color. Rolling your cursor over the color palette will change the color on the background insert until you find the one that best complements your interior design color scheme.

Table Sign Paper Inserts

Step 5: Now you can add your text. Add one or more text boxes to your template by clicking the Insert tab and selecting “Draw Text Box” like you did in Step 2. Position the text boxes on the background and choose the font, font color and font size that you desire. In order to eliminate the text box outline click the Format tab -> Shape Outline -> No Outline and now you have just the text. To blend in your text box with the background you’ve chosen, highlight the text box -> right click the text box -> select Format Text Box from the drop down menu -> under Colors and Lines set Transparency to 100%. You can also use the Color drop down and select the color, texture or pattern to match the background you’ve already selected.Here is the header insert that we’ve created.

Desk Sign Paper Insert

Simply print the page and cut out the frame insert. Below is the sign frame complete with insert. I also modified the layout by simply adding a gradient background and logo to illustrate the power and flexibility in creating paper inserts.  Please send us your designs at [email protected] so we can share them with our readers.
Desk Sign with Paper Insert

Desk Sign with Gradient