In order to make signs like the pros all you need is a desktop printer and a word processor such as Microsoft Word. This particular post is specifically dedicated to making paper signs, or frame inserts if you will, using specialty paper. You may also achieve the same effect with your paper signs by using the textured background effects within Word. If, however, you need more than what the textured options in Word provides for your office signs specialty paper will give you significantly more options.
You can truly create professional-looking paper signs in a matter of minutes. You don’t need to have a graphics design background to make signs that are elegant and aesthetically pleasing. Designing frame inserts is fun, fast and economical too.
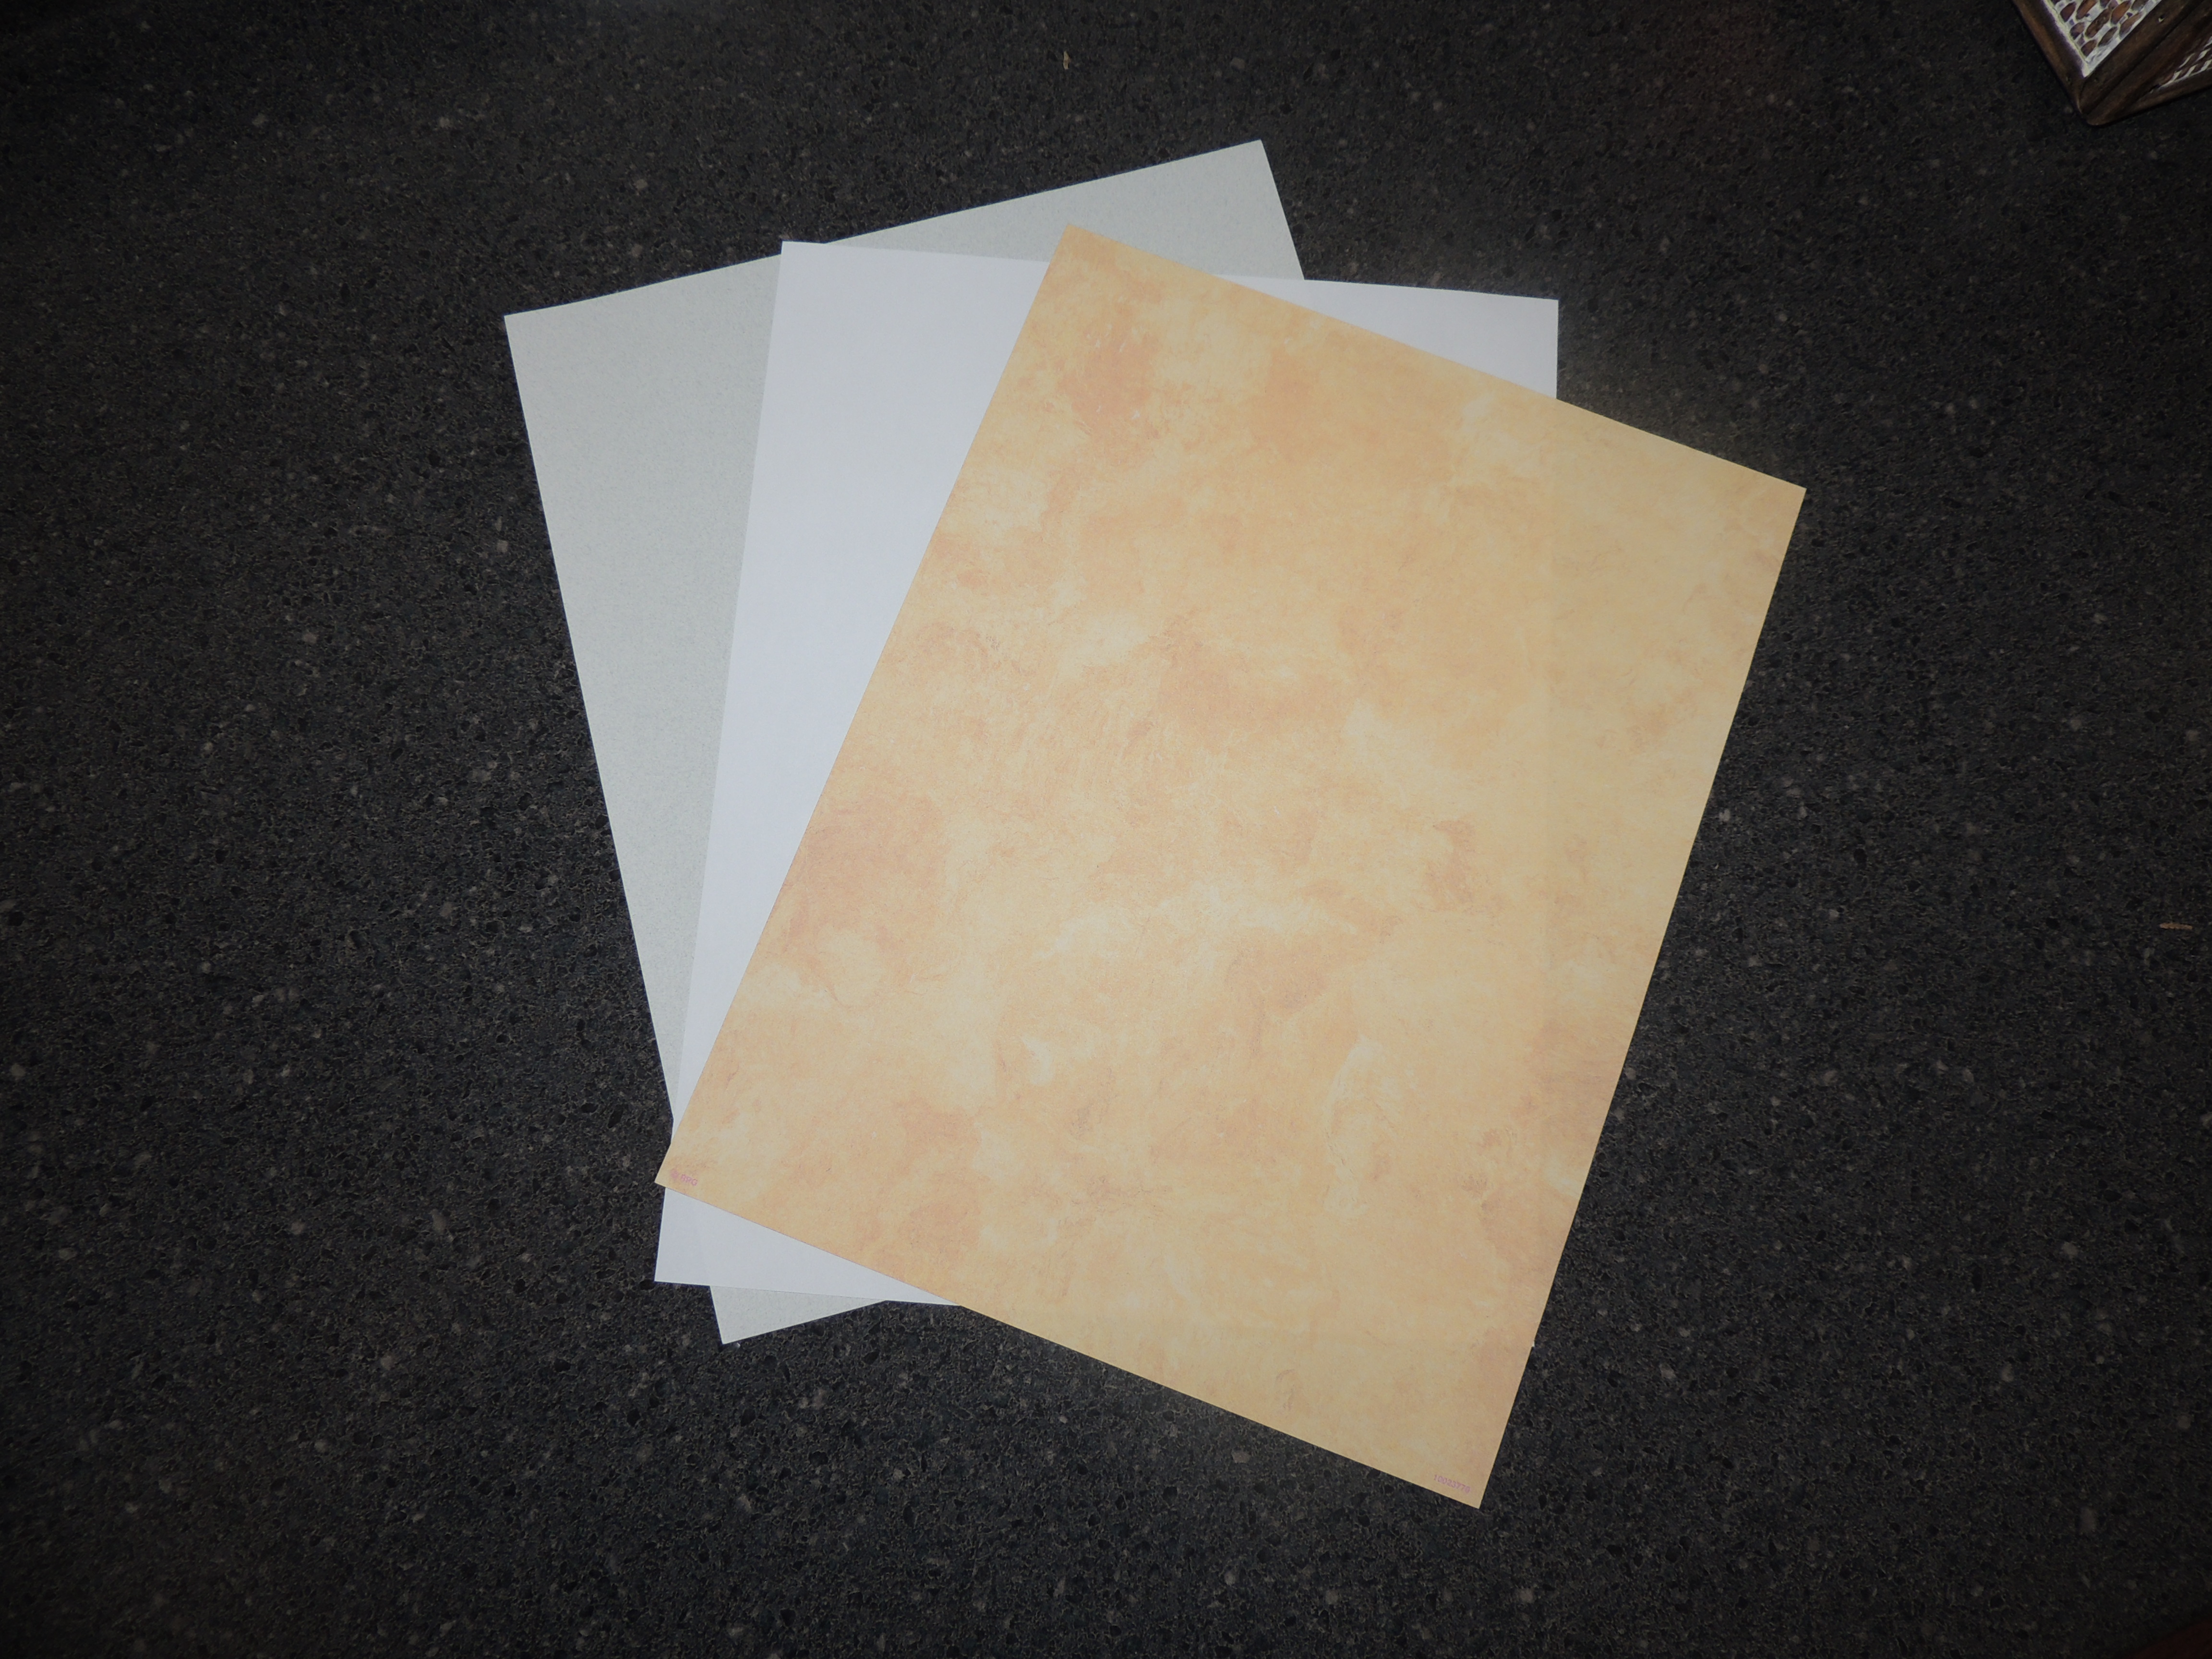
So what do you need to know in order to make signs with specialty paper? Specialty paper can be purchased at all office superstores such as Staples and Office Depot, FedEx Kinko’s and local boutique shops. Here are two samples of specialty paper sandwiched around a sheet of white bond paper to show the contrast. I randomly picked these two but there are numerous styles and colors available at the above mentioned stores to complement any interior color scheme.
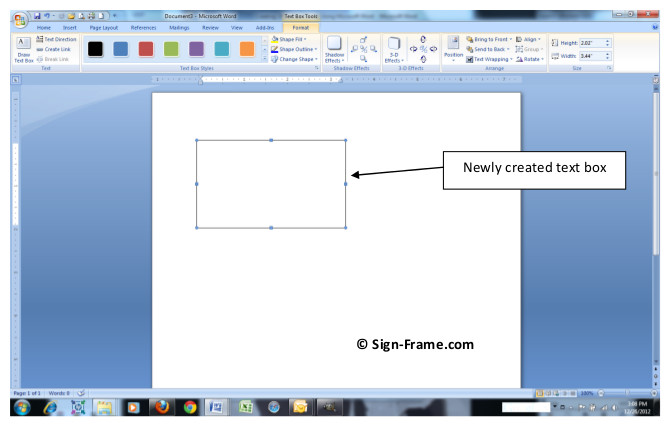
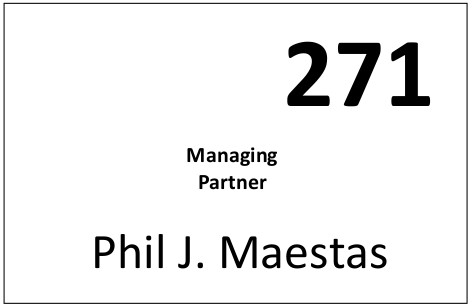
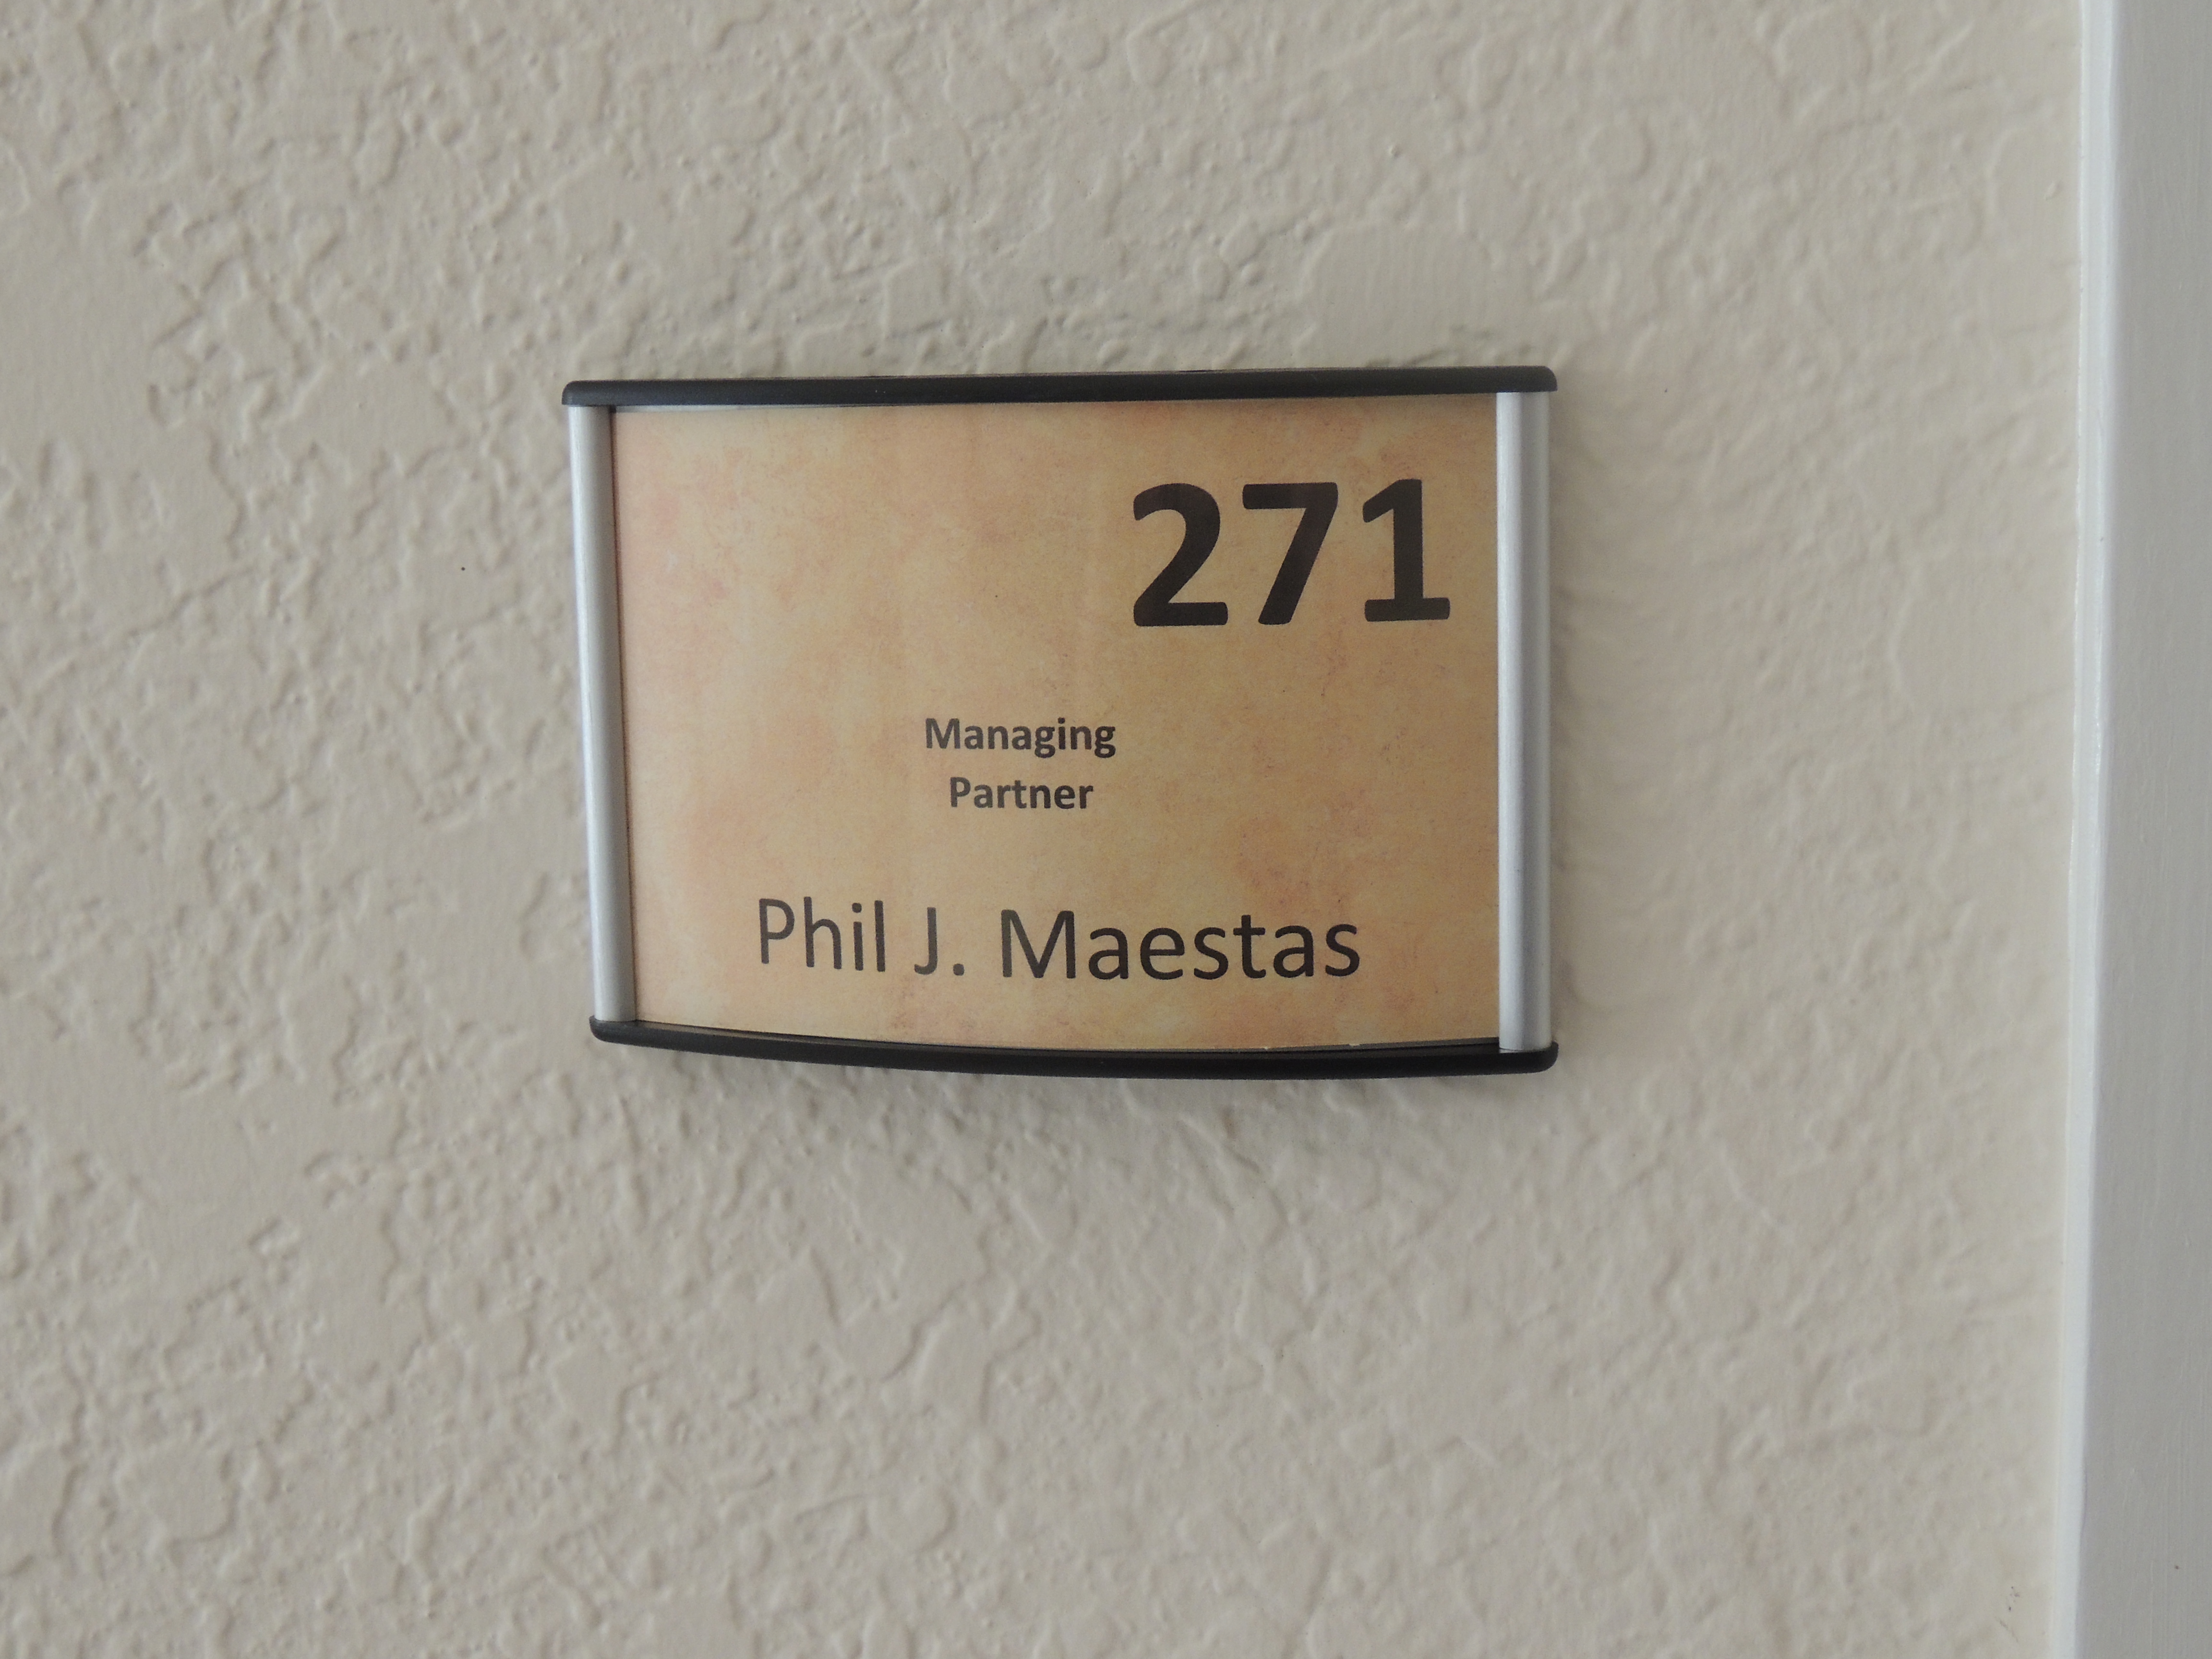
The following represents a step-by-step process in Microsoft Word showing you how to design frame inserts in just a few minutes for the cost of ink and paper. Once you understand the core concepts in creating your frame inserts you can get as creative as you’d like in designing paper signs to complement any campus or business interior. Photoshop, Illustrator and a variety of other software design packages and word processors can be used as well. Please note that the instruction set listed below may vary depending on the version of MS-Word you have installed. Although we used a one-part frame for this example the process would hold true for two-part signs such as the WFP4U.
Make Signs Yourself Using Specialty Paper
Move your cursor to the document (you will see a “+” sign appear) and drag it diagonally across the drawing surface while holding down the left-click button on the mouse.


